You’ll import a Photoshop file of the business logo to add to the third scene.
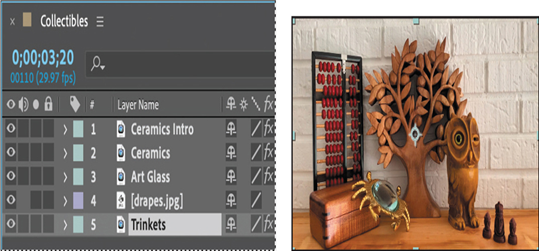
- Select the Trinkets layer, and go to 3:20, where the clip begins.
- Double-click an empty area in the Project panel to open the Import File dialog box, and navigate to the Lessons/Lesson10/Assets folder. Select the TrinketsText.psd file. Choose Footage from the Import As menu, and click Import or Open.
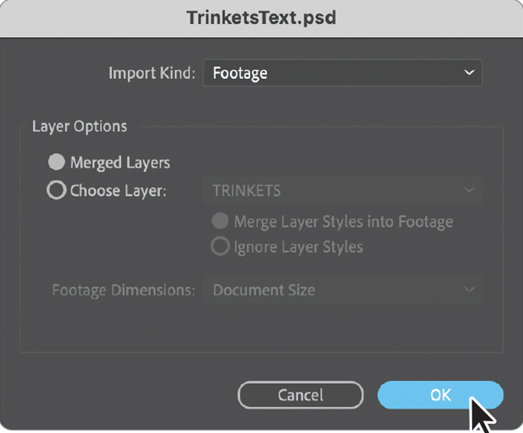
- In the TrinketsText.psd dialog box, accept Merged Layers for the Layer Options, and click OK.
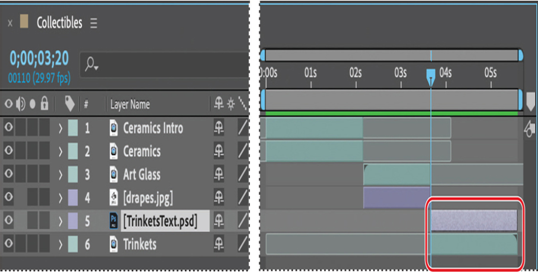
- Drag the TrinketsText.psd file from the Project panel into the Timeline panel, placing it directly above the Trinkets layer.
- With the TrinketsText layer selected, press Alt+[ (Windows) or Option+[ (macOS) to set the In point to 3:20, so that it starts at the same time as the Trinkets footage.
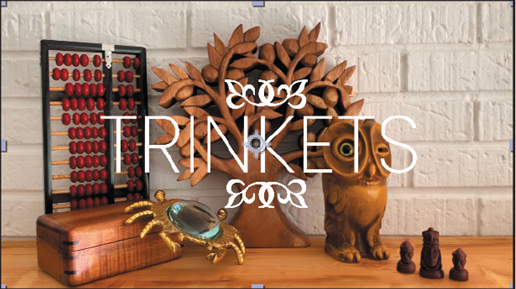
The text sits nicely in the middle of the frame, but the brightness of the scene makes it difficult to read. You’ll fix that.
Adding a vignette
You’ll use a new solid layer to create a vignette, which will emphasize the text in the center as a focal point.
- Select the Trinkets layer, and go to 3:20, the beginning of the clip.
- Choose Layer > New > Solid.
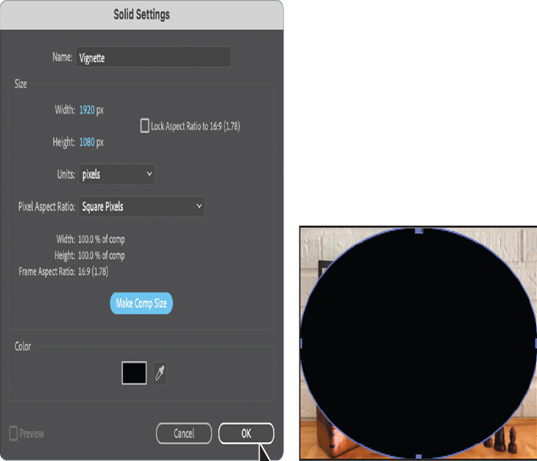
- In the Solid Settings dialog box, do the following:
• Name the layer Vignette.
• Click the Make Comp Size button.
• Change the color to black (R=0, G=0, B=0).
• Click OK. - Select the Ellipse tool ( ), hidden beneath the Rectangle tool ( ) in the Tools panel, and then double-click the Ellipse tool to add an elliptical mask that is automatically sized to fit the layer.
Tip
Press Shift while you double-click the Ellipse tool or Rectangle tool to create a perfect circle or square, respectively.
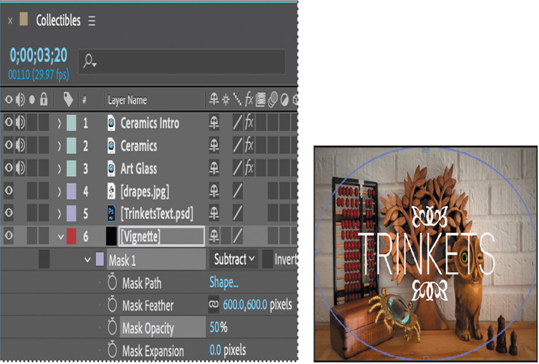
- In the Timeline panel, select the Vignette layer, and press Alt+[ (Windows) or Option+[ (macOS) to set the In point to match the Trinkets clip.

- Expand the Mask 1 properties. Change the Mask Mode to Subtract, and change the Mask Feather value to 600 pixels.
- Change the Mask Opacity to 50%.
8. Hide the properties for all layers and then save the file.