Using a Motion Graphics template in Adobe Premiere Pro
You can use the template to edit the title sequence in Premiere Pro.
- Open Premiere Pro. Click New Project in the Home window.
- Name the project Shot in the Dark opening, and save it in the Lessons/Lesson11/Finished_Project folder. Click OK or Create.
- Choose Window > Workspaces > Captions And Graphics to open the Essential Graphics panel and other panels you’re likely to use with it.
- Choose File > New > Sequence, select the HDV > HDV 1080p25 preset, and click OK.
- Make sure Local Templates Folder is selected in the Essential Graphics panel, and scroll to the template you created. Premiere Pro includes several standard templates in the Local Templates folder.
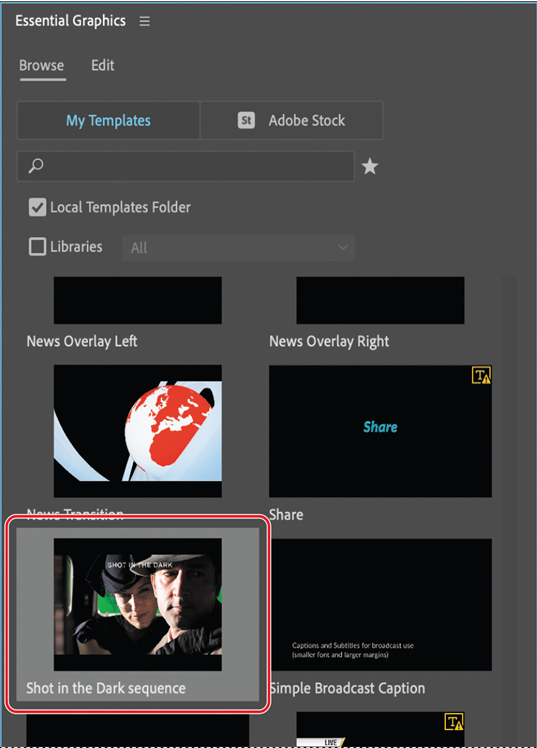
- Drag your template from the Essential Graphics panel onto the new sequence in the Timeline panel. If prompted, click Change Sequence Settings to match the clip.
As the template loads, Premiere Pro displays a media offline message. - When the template has loaded, press the spacebar to preview the clip, and then scroll through the time ruler until you can see the episode title text and the effect.
- Double-click an empty area in the Project panel. Then, navigate to the Lessons/Lesson 11/Assets folder, Shift-select all four PSD files, and click Open or Import. Click OK in the dialog box that appears for each file.
- Click the Edit tab in the Essential Graphics panel. Double-click the Program Monitor panel if you don’t see the template controls in the Essential Graphics panel, and then make changes to the episode title and effect settings in the Essential Graphics panel.
- Drag an image from the Project panel onto the Episode image thumbnail in the Essential Graphics panel. Premiere Pro changes the background image in the Program panel and in the thumbnail.
- Press the spacebar to preview the movie again.
- In the Timeline panel, drag the layer to extend it, and then preview again. The title animation at the beginning is extended, as is the timing of the effect on the image. But the episode title animation timing is preserved.
- Make any other changes you like, save the file, and close Premiere Pro.

Review questions
1 Why would you save a Motion Graphics template from After Effects?
2 How do you add controls to the Essential Graphics panel?
3 How can you organize controls in the Essential Graphics panel?
4 How can you share a Motion Graphics template?
Review answers
1 Saving a Motion Graphics template lets you give your colleagues the ability to edit specific attributes of a composition without sacrificing stylistic control.
2 To add a control to the Essential Graphics panel, drag a property from the Timeline panel.
3 To organize controls, group them. Choose Add Group from the menu at the bottom of the Essential Graphics panel, name the group, and drag controls into it. You can also add comments to help users understand your intention.
4 You can share a Motion Graphics template by exporting it to a shared Creative Cloud library, the local templates folder on the same computer, or a .mogrt file that you distribute to your colleagues.